
Most of us do not have the professional equipment required to make a wooden
picture frame. However, you can achieve surprisingly good results using
ordinary tools. Try to use wood with a natural profile to avoid the need for
a router. The trickiest thing to accomplish is a 45°-angled cut.
Professionals use a laser-guided mitre saw, but for the purpose of this
project you can use a handsaw with a mitre guide. To fasten the joints I
used a staple gun and wood filler. Use a hand sander to remove splinters and
rough edges.
Recycled items:
reclaimed skirting boards/roof panels/floor boards
You will also need:
handsaw
mitre box
staple gun
an assistant (optional)
wood filler
hand sander
1. Determine the desired picture frame dimensions and, using a handsaw, cut
the wood into four pieces, one for each side of the frame.
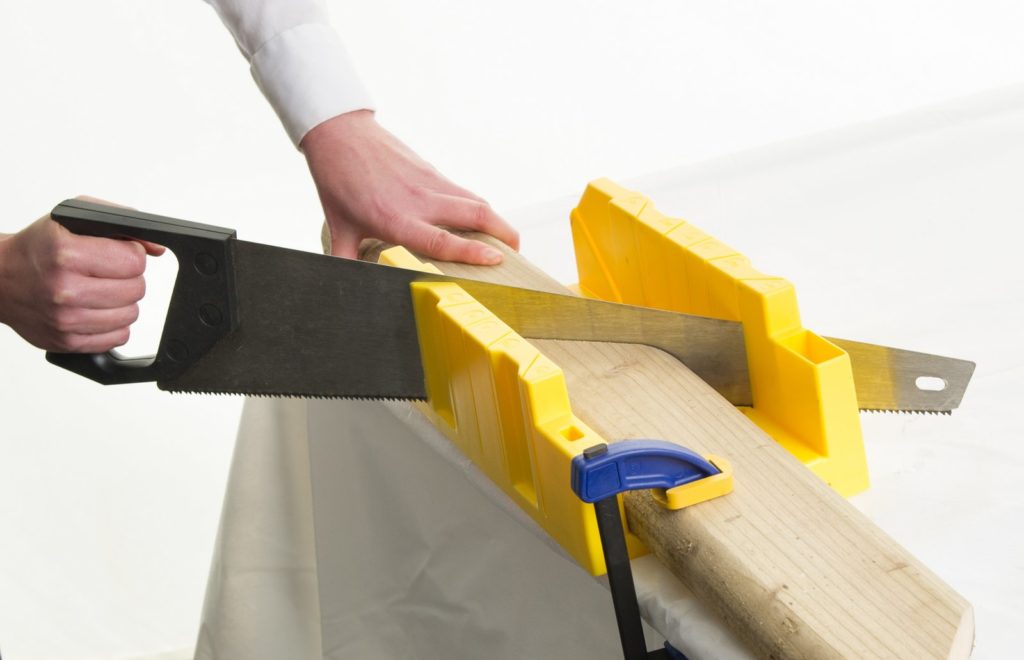
2. With a mitre box and handsaw, cut the ends of each piece at a 45° angle.
(Practise using a mitre box on some off-cuts before you tackle the picture
frame.) A mitre box allows you to hold the wood firmly and will guide the
saw so that it cuts at the correct angle.
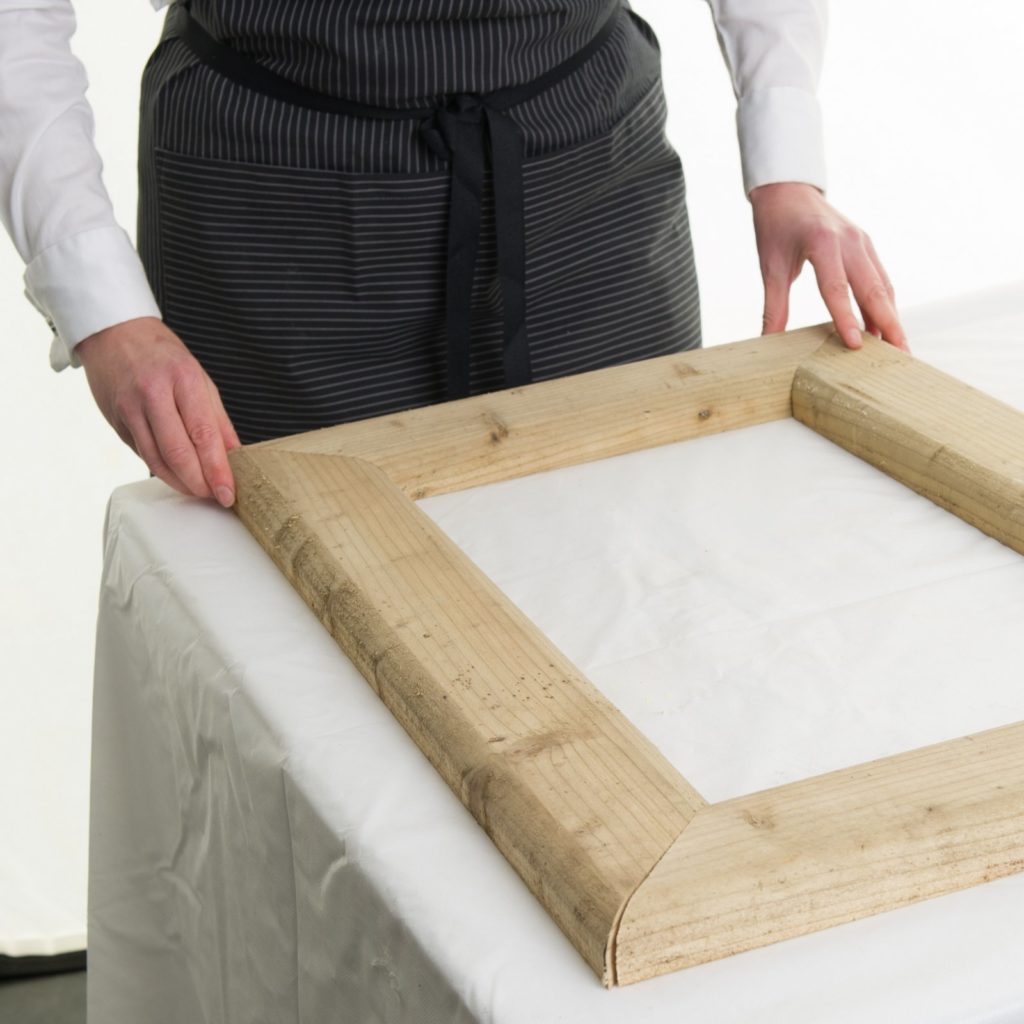
3. Arrange the cut pieces flat on your work surface so that they form the
shape of your frame.
4. Hold the pieces in place while you staple the corner sections of the
frame together.
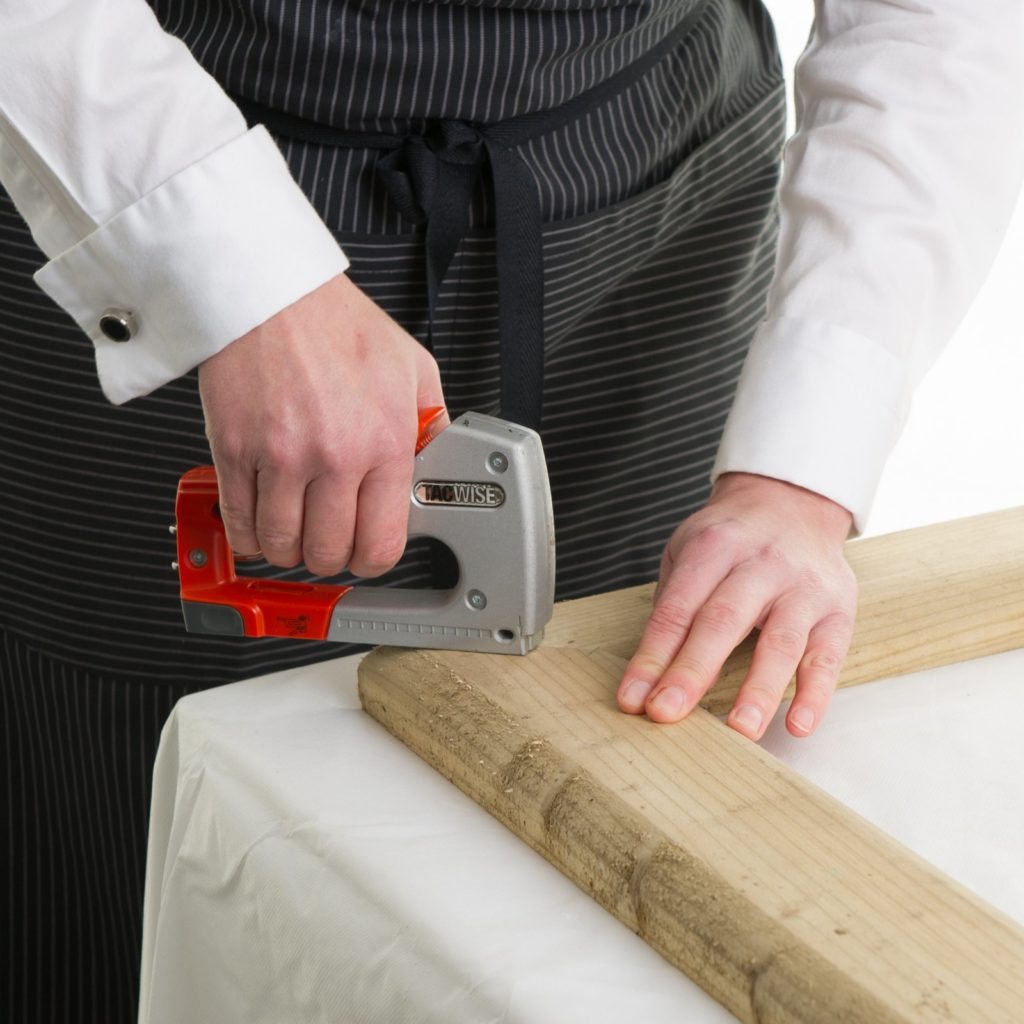
(This is where an assistant is very useful!) Turn the frame over and apply staples to the rear of the corners as well. Fill any
gaps with wood filler and leave overnight to dry.
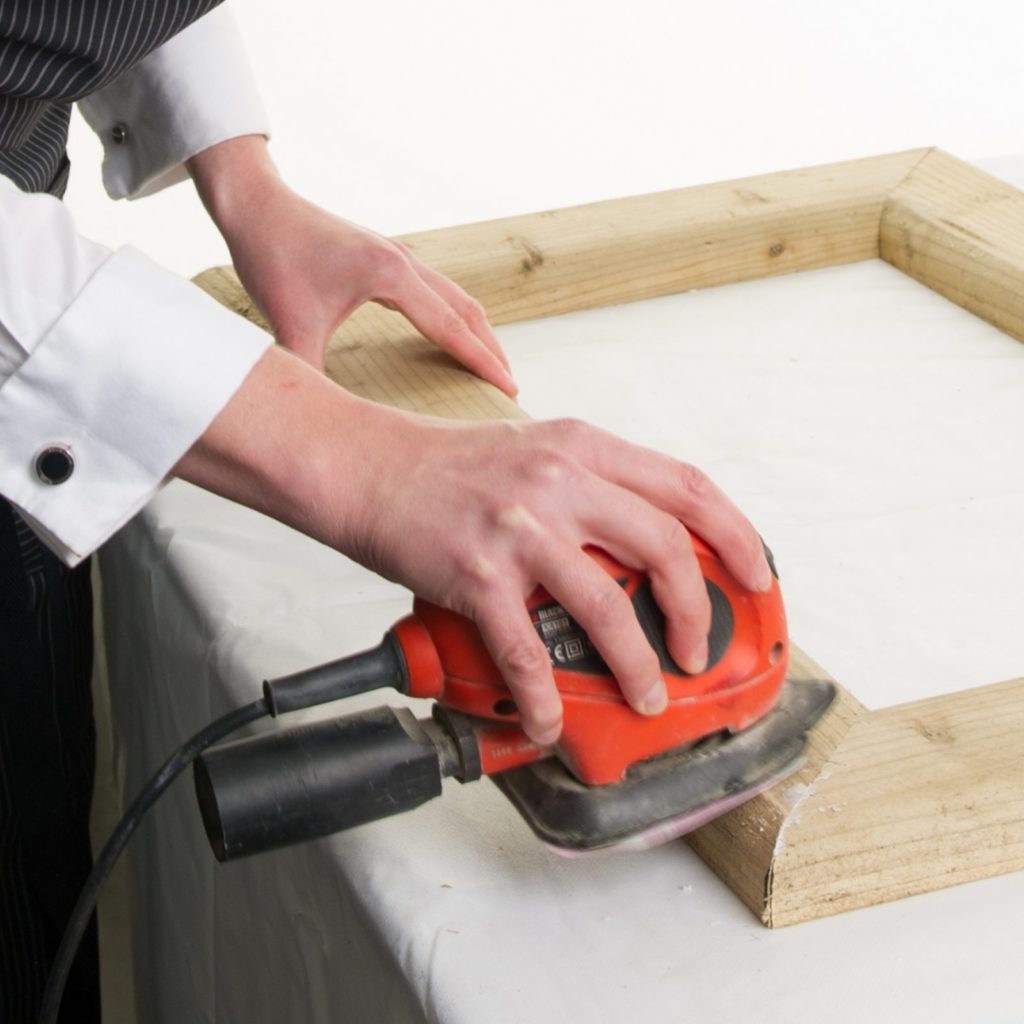
5. Once the frame is completely dry, smooth away any rough patches with a
hand sander.
6. Attach a hanging device to the frame. The wooden picture frame is now
ready to be painted, whitewashed, or decoupaged applied.