You will need:
• plastic sheet or oil cloth
• apron
• paper (newspaper, white wallpaper, or unused magazines or books)
• moulds
• petroleum jelly or cling film
• water-based glue
• paintbrushes
• a pair of scissors or craft knife
• blunt knife
1. Protect your working surface with plastic or an oil cloth (easy to
clean). Wear an apron to protect your clothes (newspaper mixed with glue can
stain clothes).
2. Tearing the paper rather than cutting it, allows for smooth seams. Use
5×5 cm-wide strips for larger objects and 2×2 cm-wide strips for smaller
objects.
3. Almost any object can be used as a mould for papier-mâché. Round objects
are easier to cover. Coat the surface of your mould with a thin layer of
petroleum jelly to create a barrier or use cling film. This will prevent the
papier-mâché from sticking to the mould and allowing it to be removed easily
when dry.

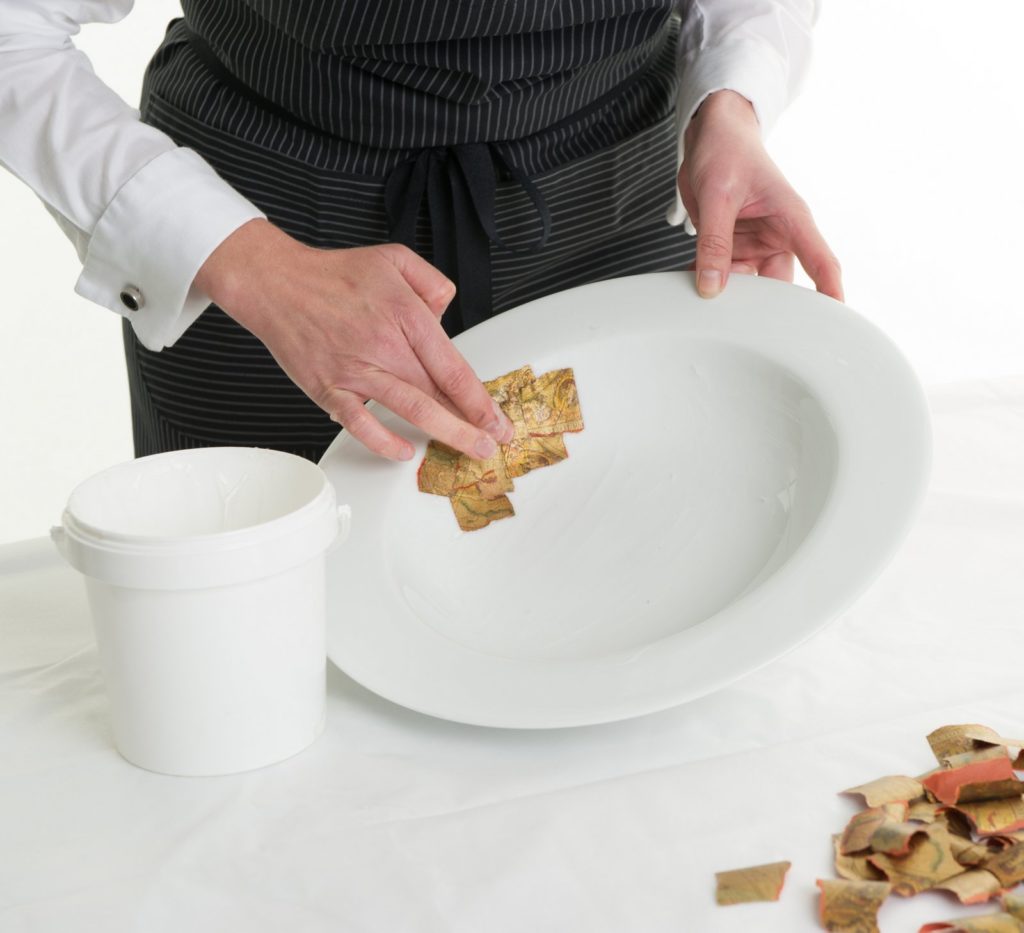
4. Paint glue on both sides of the paper strips with a paintbrush or simply
dip the paper in the glue. Remove any excess glue with your fingers.
5. Lay the strips individually on the greased mould from one side of the
mould to the other, until the entire mould is covered. It is important to
remove any air bubbles and excess glue. Do this by gently pressing the glue
paper against the surface of your object, always moving from the middle
outwards. Repeat the process 6–8 times to complete.
6. Leave to dry (this will take 6–8 hours). Tap it to check whether it is
properly dry; it should sound hollow.
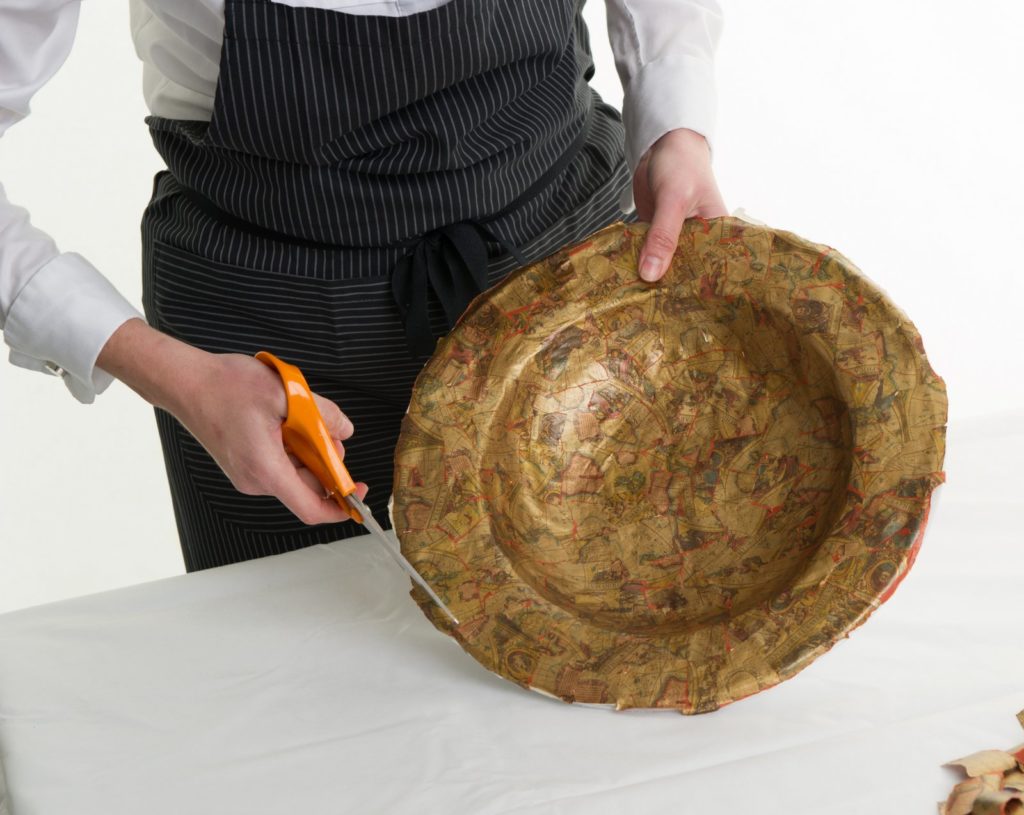
7. Trim away the raw edges around the mould, using a pair of scissors or a
craft knife.
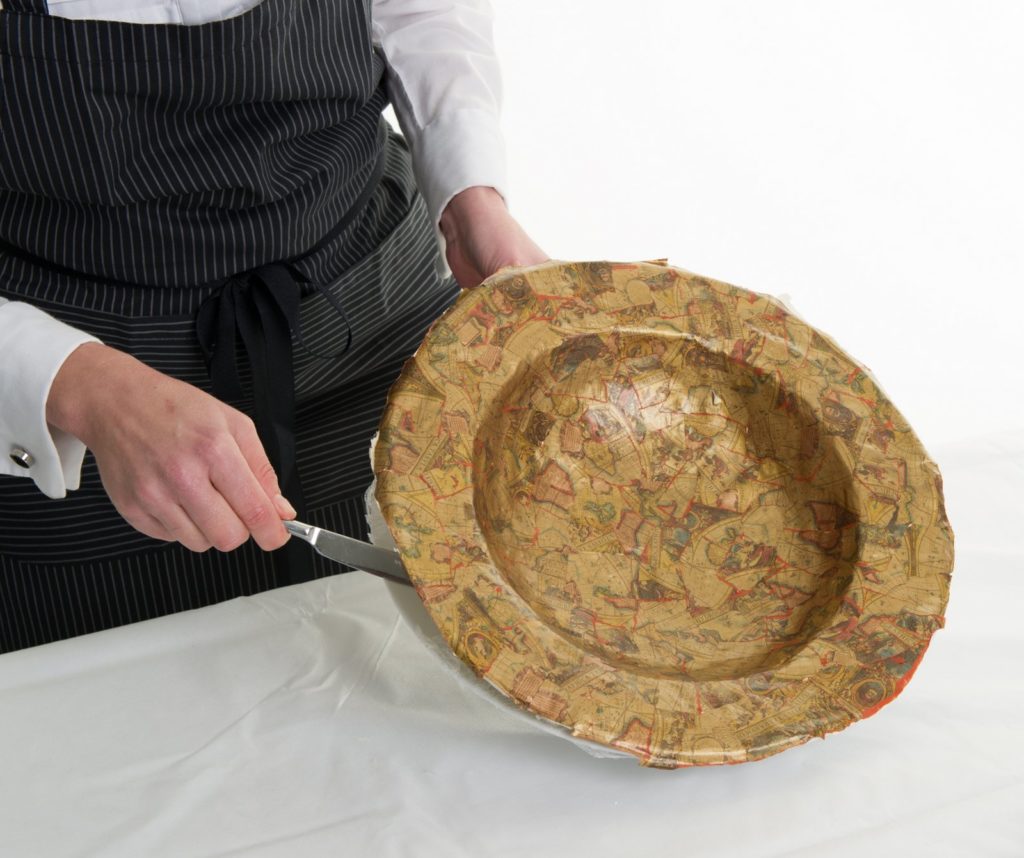
8. Use a blunt knife to pry the paper gently away from the mould.
9. The mould is now ready to decorate.