
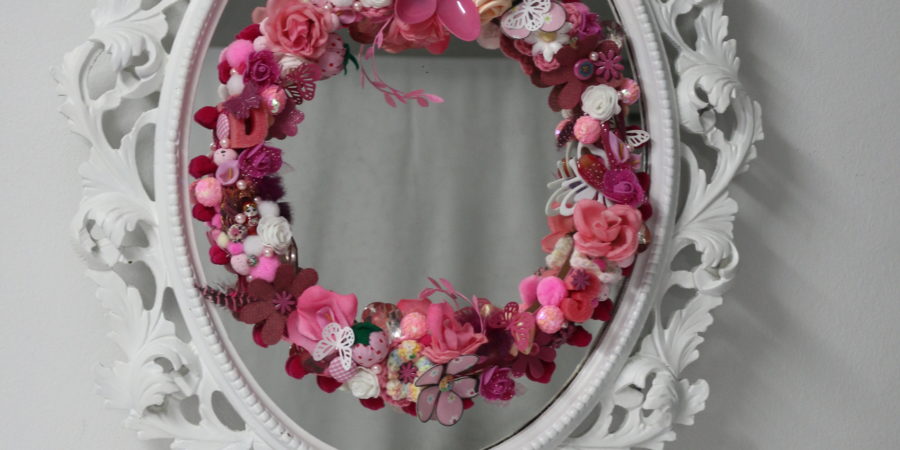
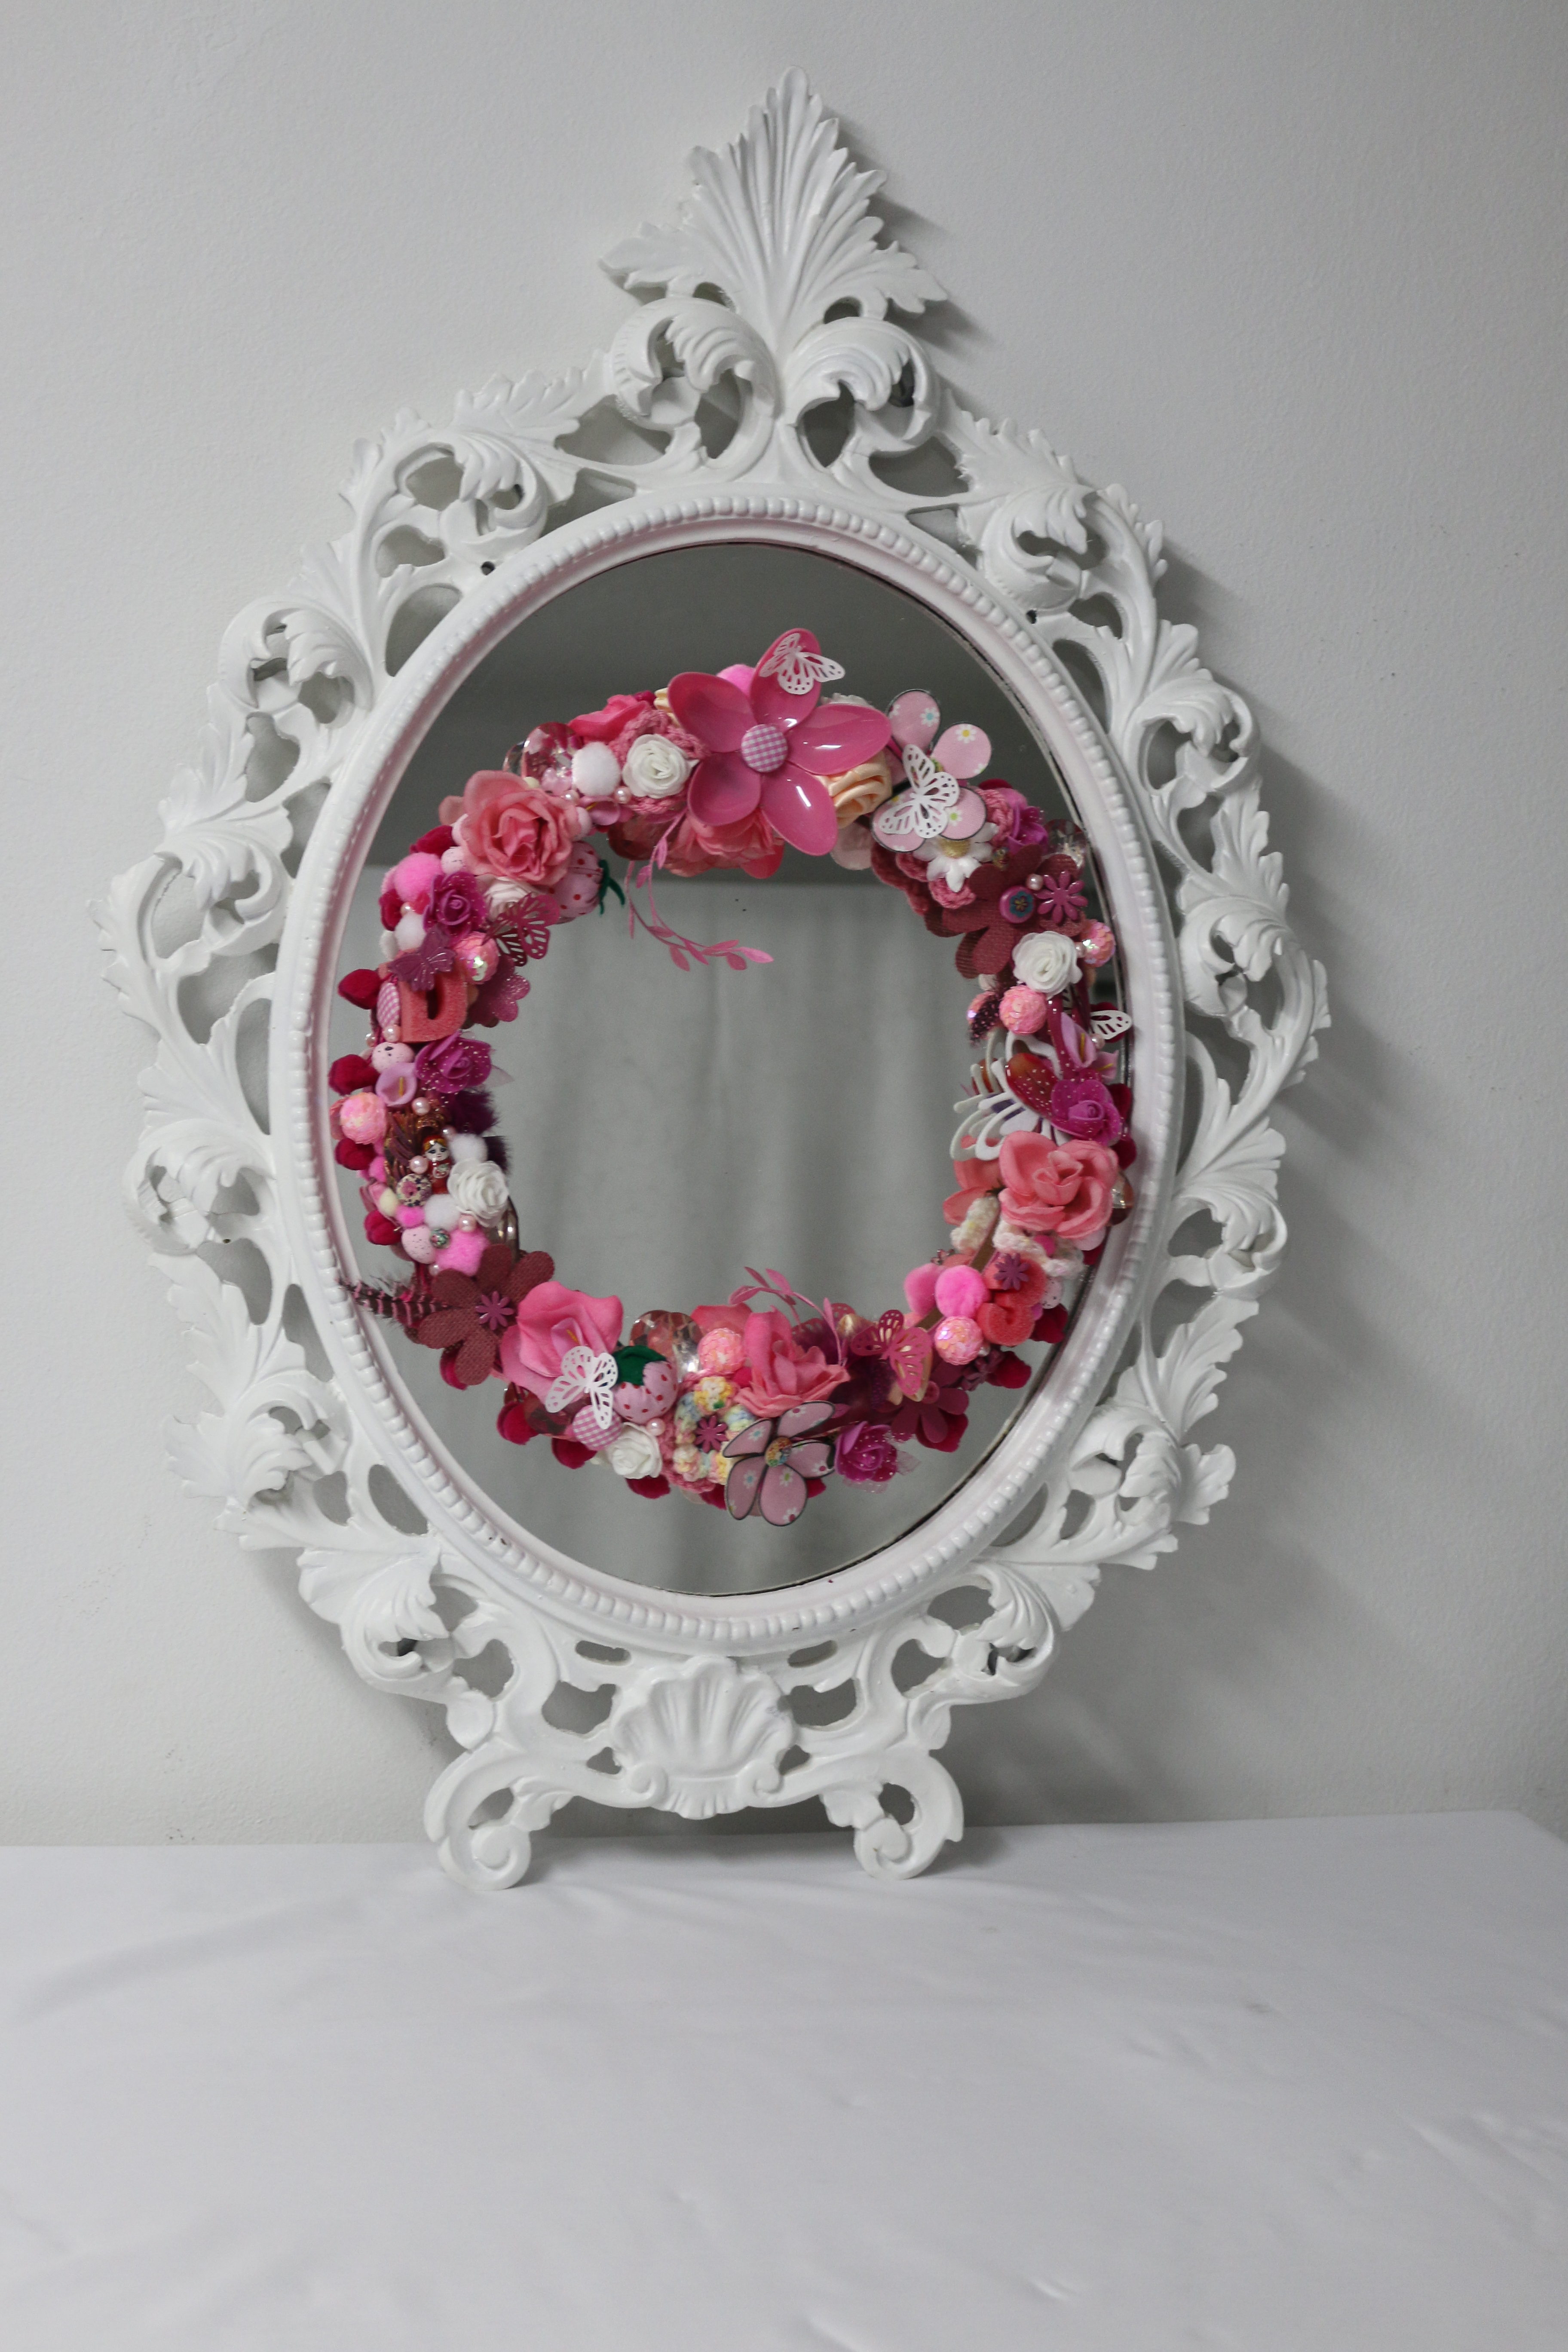
I have recently moved to a new house and decide to give most objects in my house a revived look. This mirror was one of the first ones for my daughter’s bedroom.
I used an old round frame, that fits neatly into the middle of the oval mirror. Spray painted the outside frame of the mirror white and the middle round one pink. Glue the newly pink painted frame onto the mirror with a glue gun then glue a pink pom-pom fringe around the outside of the frame for a neat look using fabric glue. Collect everything pink like buttons, beads, sponge letters, feathers and artificial flowers. I crochet flowers, made clay ones, cut flowers out, use a stamp for the butterflies and sew strawberries from old fabric, fibre filling and felt fabric. Included are the instructions for the fabric daisy. After everything has been made and collected you can start to decorate the frame but do not glue it yet. Make sure that you have enough bits to cover the complete inside frame and that it all complement each other. When you are happy with your layout you can now start to glue them one by one with a glue gun. This is such a fun project for you and the kids.

How to make the fabric flowers
Recycled items:
- florist’s wire (0.7 mm floral green stub wire)
- round or cylindrical object (to shape the wire)
- fabrics (shantung works best)
Buttons
- You will also need:
- small paint brush
- fabric glue
- sharp fabric scissors
- green florist’s tape
- Before starting, decide how many flowers you want to make. You will need five petals for every flower, and 15 cm of florist wire per petal.
- Shape one end of a 15-cm length of wire into a circular petal around a cylindrical object, and keep the remaining length of wire straight. Repeat this for each petal required.
- Measure the length of your petals (they should all be the same), then cut out strips of fabric with the same length.
- When you have enough petals, paint one side of the wire petals with fabric glue and place them firmly along the fabric strips.
- Leave them to dry, then cut the fabric around the outer edges of the wire petals.
- Bend the petal backwards from the stem. Put a wire stem through a button to form the centre of the flower, and arrange five other petals and stems around it. Bind the stems together with florist’s tape.
- Adjust the position of the petals to your preference.
- Tell me about the strawberry basket – how you did it. With summer approaching, I am planning a pink garden party – this basket and strawberries will fit in perfectly with the theme. The basket is made from old bangles that are covered in pink ribbon. I placed the covered bangles inside a round bowl to get the shape and then glued them together with fabric glue. Leave them to dry overnight. When they are completely dry you can remove the newly made basket from the inside of the bowl. Turn it around add some more glue if needed.
How to make the strawberries
-
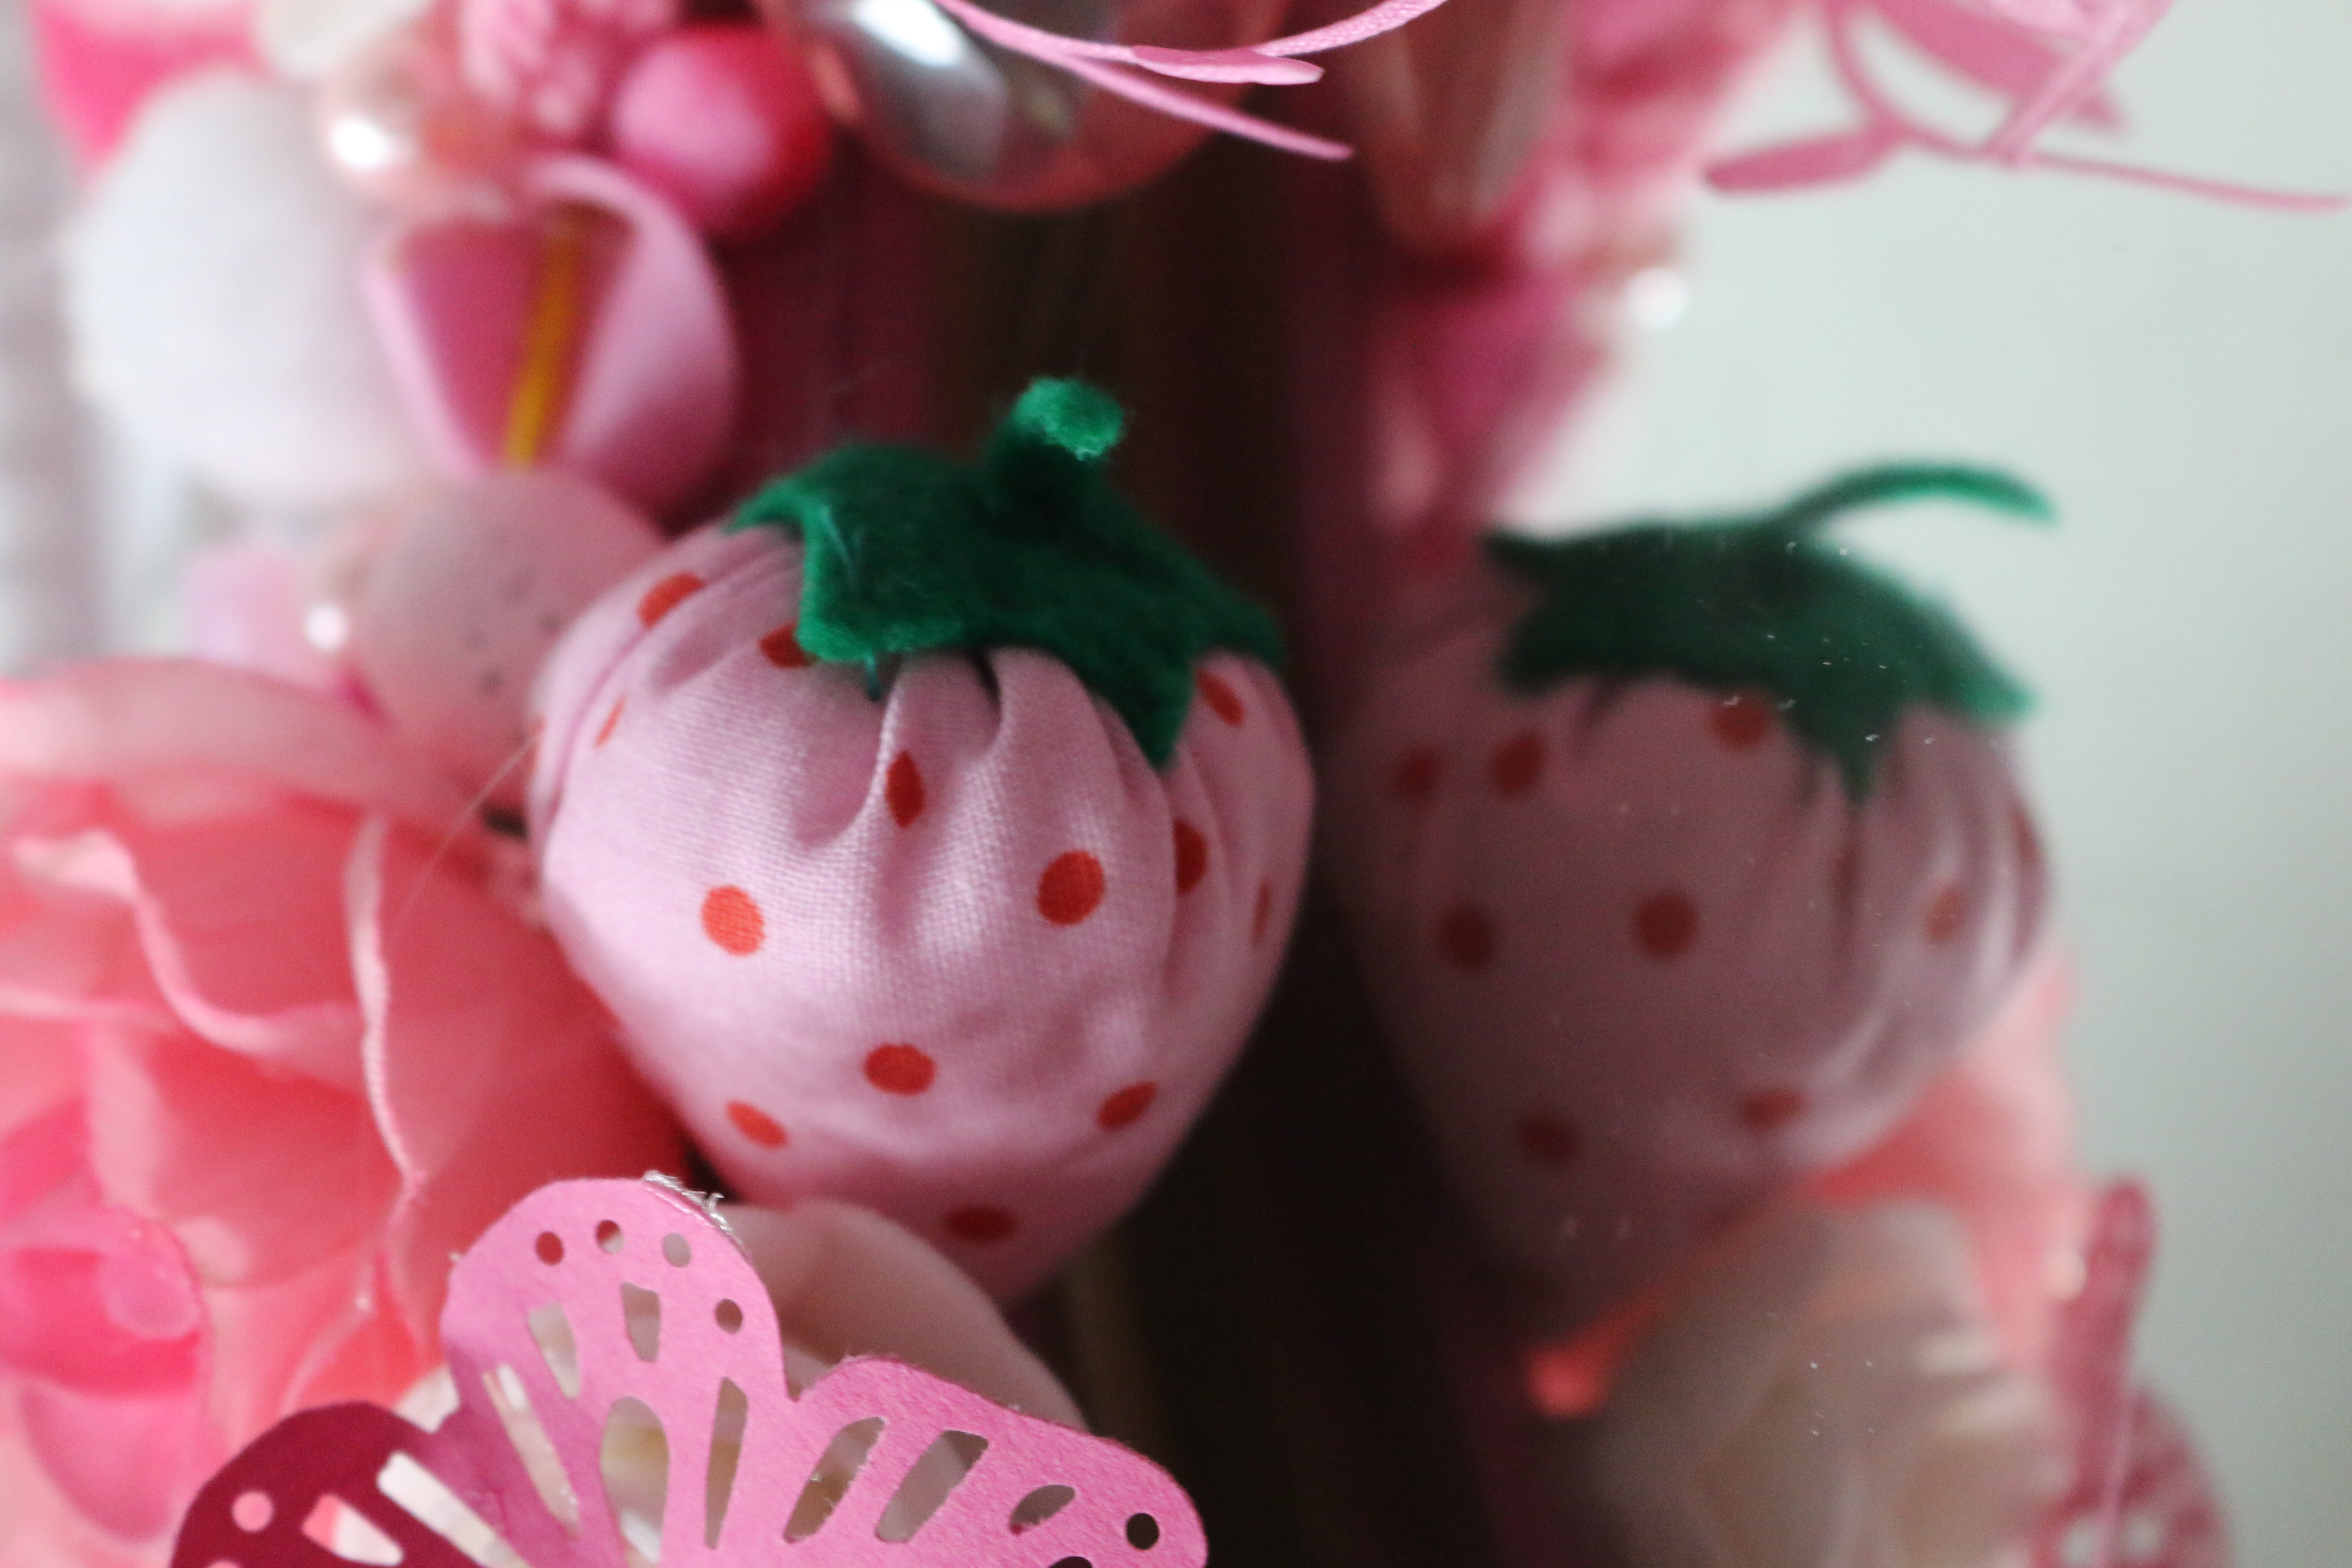
- The strawberries are all made from left over fabric, polyester fibre and felt fabric for the leaves.
- Trace around a small plate or bowl on your fabric. Make sure that you have a couple of drawn circles. Use a sharp fabric scissor and cut out the traced circles.
- Fold the circle in half and cut to leave you with two halves. Each half will make a strawberry.
- Fold the right sides together and sew together with your sewing machine along the straight edges.
- Turn it around so the seam is inside. Use a needle and thread with a big knot on one side of the thread and start to sew running stiches about 0.5cm from the top all the way around
- When you finish hold the fabric in your hand like a cone and fill with the polyester fibre. Now pull the thread to gather the fabric, make sure you tuck all the fibre to the inside. You should be able to see a strawberry taking shape Fasten the thread with some gathering stiches. Put aside and start to make the felt leaves
- Cut a star shape leaf by using a small felt square (2cm by 2cm) depending on the size of your strawberry.
- Sew the felt leaf on top of the enclosed opening with fine stiches in green thread
- Add a stalk if you want. Your strawberries are ready to be displayed.