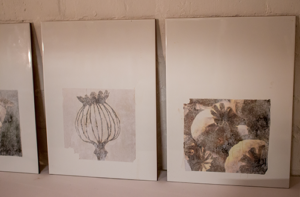
The following items will be required:
• Printed picture
• Transfer glaze and small brush
• A pan big enough for the picture to soak in
• Soft cloth
• Water based varnish and brush
• Modge podge
• Tile to transfer
Instructions:
1. Transfer the glaze onto the picture, front side up of the print, you will need to apply the glaze 6 times and, on each application change direction of the brush. Namely from left to right and then from top to bottom. Very important: allow the glaze to dry after each application and before you apply the next. Once you have completed the process and have brushed the glaze on for the 6th layer, leave to dry overnight.
2. Fill a pan with water and soak the picture, making sure that the picture does not fold or bend.
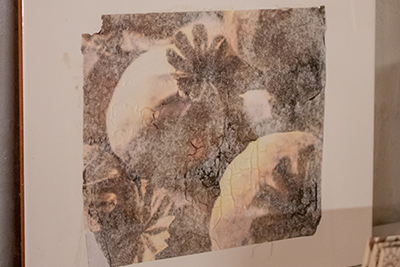
3. Place the picture face down on a flat surface, start to gently rub away the paper with your fingers. Use a soft cloth to remove any excess paper. You will be left with the transfer glaze picture.
4. Using modge podge, paint the topside of the tile. Gently remove the picture from the flat surface and placed it on the modge podge surface with the picture face up. Very carefully remove all air bubbles by gently pushing down from the centre to the sides with your fingers. Once all the air bubbles are removed allow the tile to dry.
5. Use a water-based varnish to seal the picture and the tile.

