You will need:
• objects to decoupage
• matt emulsion paint (if necessary)
• pictures to cut out
• water-based sealant (PVA glue or Modge Podge)
• a small pair of sharp scissors or a craft knife
• cutting mat
• paintbrushes or sponge brushes
• damp sponge (optional)
• clear varnish
1. Make sure that the surface of the object to be decoupaged is clean,
smooth and dry. Seal any porous surfaces with matt emulsion paint.
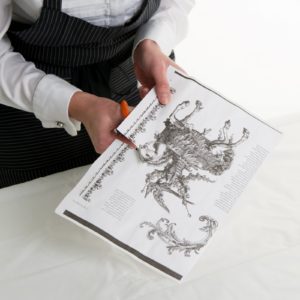
2. Before you cut out an image, first coat it with sealant, then leave to
dry.
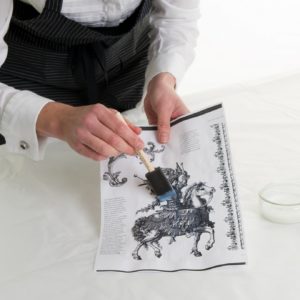
3. Cut around the edge of the image with scissors. For intricate patterns
you may prefer to use a craft knife and cutting mat.
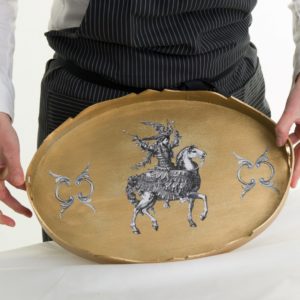
4. Decide how you want to arrange the images on the object. Pictures can be
in any design and can overlap each other.

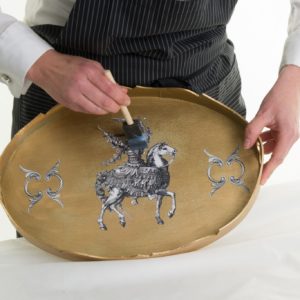
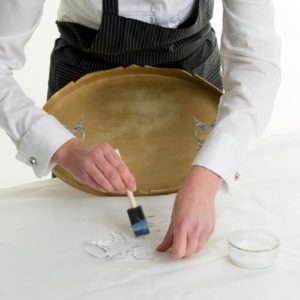
5. When you are satisfied with your layout, paint some sealant on the
reverse side of your first image. Place it in position, press down gently
and rub over it with your fingers or a damp sponge to smooth away any air
bubbles and excess glue. Repeat this process with each image. When, you have
glued all your images onto the surface of the object, paint two coats of
sealant over the surface for protection. Allow the first one to dry before
you apply the second coat.

6. The beauty of decoupage is that if you do not like your design or layout
you can always re-do it before applying the final layer of varnish. To do
this, just soak off the water-based sealant and image by submerging the
object in water. Make sure the object’s surface is properly dry before you
start again.
7. When you are satisfied with your object, apply the final layer of
varnish. This serves to protect the object, as well as your decorative work,
from heat and water damage.